header
Before and After Examples
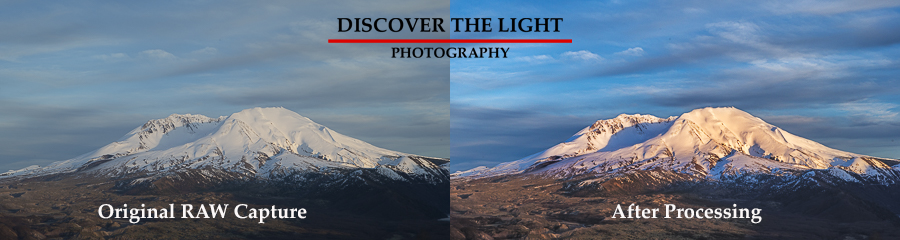
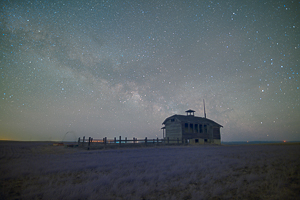
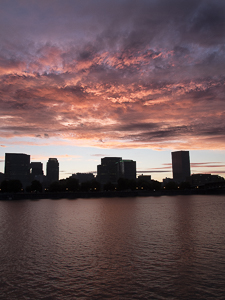
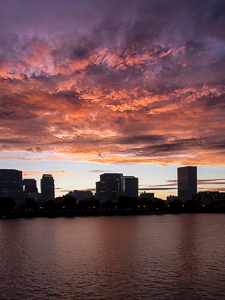
  Below are some before and after examples using just Lightroom and Lightroom and Photoshop.
Return to One-on-One Learning page
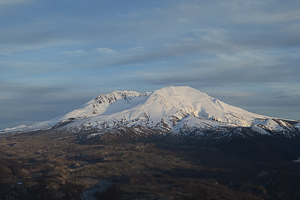
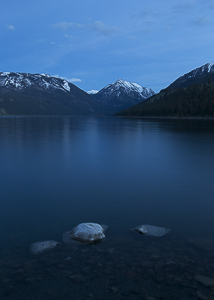
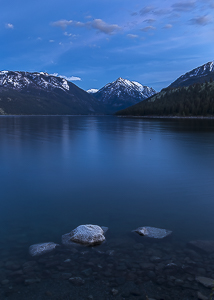
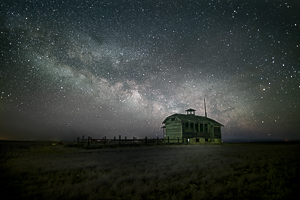
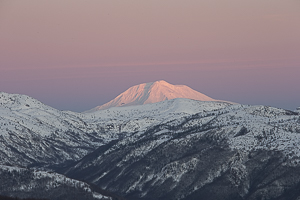
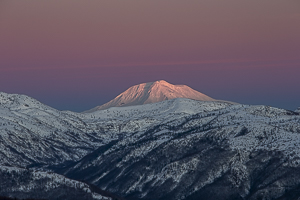
 
  Original Raw Images After Processing  
  before after  
 

Lightroom: Basic edits for white balance, tonal contrast, sharpening, and lens profile corrections.
Photoshop: Luminosity mask controlled dodging and burning in the clouds. Alpenglow enhanced with luminosity mask controlled saturation.

 
  before after  
 

Lightroom: White balance, tonal contrast, sharpening, and lens profile corrections. Adjustment brush with luminosity range mask used to target brighter tones in sky, snow, foregound rocks, and water.

 
  before after  
 

Lightroom: Very basic edits for white balance, contrast, chromatic abberation corrections, and color calibration.
Photoshop: Smart Object layers use to allow use of Camera Raw in photoshop. Zone luminosity mask used to dodge (brighten) just the bright tones in the Milky Way. The luminosity mask used for dodging was inverted and used for burning (darkening) the sky. The same zone mask used for dodging was used you sharpening just the brighter tones on the Milky Way>

 
  before after  
 

Lightroom: Basic edits for tonal contrast, sharpening, and lens profile corrections. Adjustment brush used to isolate the mountain and add some sharpness and brighten the snow. Adjustment brush used to isolate the sky and reduce sharpness and add a little saturation.

 
  before after  
 

Lightroom: Basic edits for white balance, tonal contrast, sharpening, and lens profile corrections. HSL panel edits for color channel luminance to enhance the clouds. Adjustment brush used to isolate the water and reduce clarity to smooth out the water. Vertical transformation used to straighten the buildings.

 
Instagram    This site created and maintained by Gregg Kerber. Copyright © 2010. All rights reserved.